Screen real estate is important – so much so, when I was looking for a new laptop, it was one of the key factors I considered. I like to have enough space to have the Visual Studio Solution Explorer open, while still being able to see plenty of code, and ideally still have enough room to see at least part of the web browser next to it – the more the better.
Despite wanting a portable laptop with a 13″ screen, I wasn’t prepared to accept a screen resolution any less than 1920×1080. I eventually found one that met my needs.
On receiving the laptop however, I was disappointed to see that I didn’t have as much space as I had expected. I could barely view a single web page, and to say VS was crushed was an understatement. I double checked the screen resolution, and sure enough it was indeed 1920 x 1080. What was wrong?
It turns out Windows 8 will scale the DPI depending on the size of screen and resolution selected. While this gives a sharper image, it comes at the expense of real estate. It’s an easy enough fix if you’d rather have the space back, however.
How To Adjust Size In Windows 8
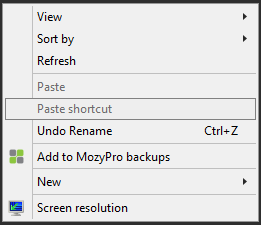
Right click anywhere on your desktop. In the popup menu that appears, select “Screen Resolution”
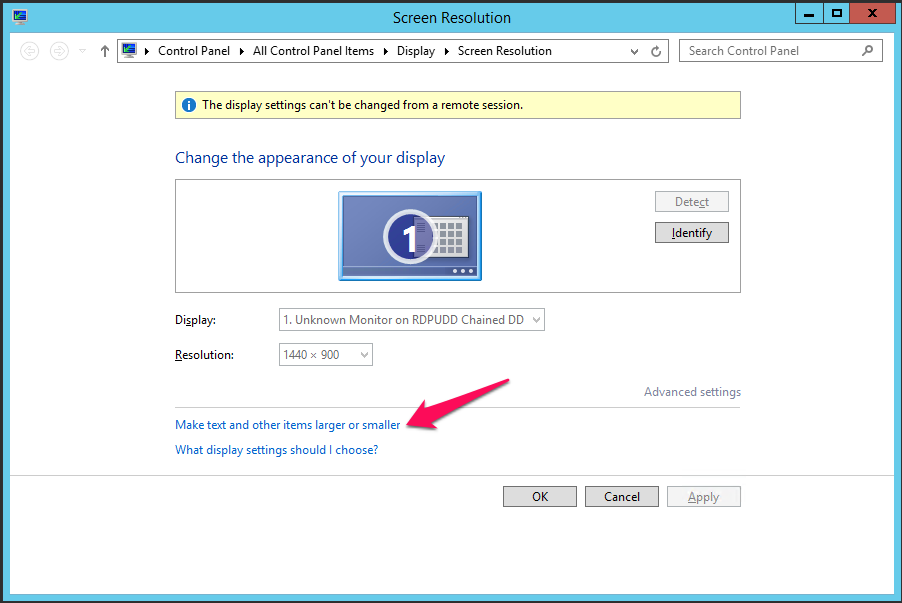
The Screen Resolution dialog will appear. At the bottom of this dialog, click “Make text and other items larger or smaller”
You can now adjust the slider to resize items on the screen. I’ve set mine to the smallest possible setting, but on a 13″ screen this may be a little too small. I’ll need to have a play around with this over the next few days.